We have been looking for a bookcase for Adley's room for a while. My husband has been dying to get Adley's toys up off the floor. We will see how long that works out. A little over a week ago I came across this dollhouse bookcase plan and we decided we wanted to try our hand out in 'do it yourself' furniture. It took us a couple days to do it. We skipped the windows and doors because we do not have a tool to do that and we were already going to be buying a circular saw. Two things that would have made the project go faster: 1. a babysitter 2. a nailgun. But nonetheless, I feel it really came out great! By the way, this website has gobs of diy furniture project plans and they all look cool. I have about 10 picked out that are next in line for us! :)
Here are some--- actually a bunch of pictures of this project:
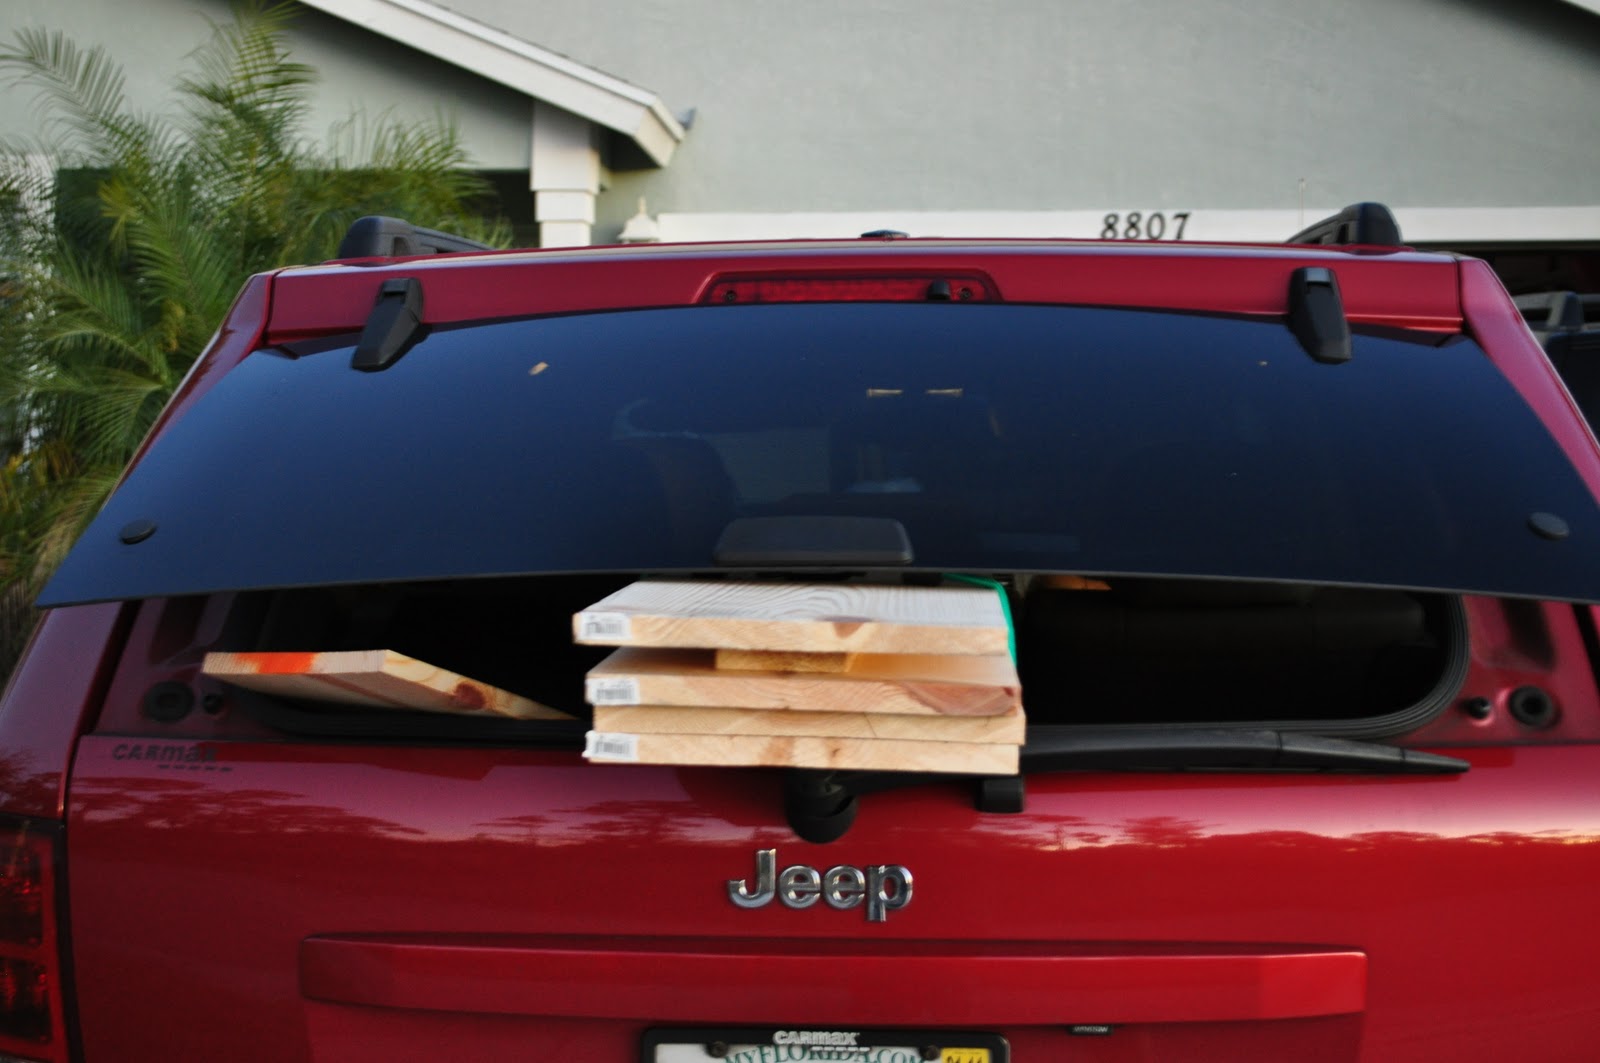
First we bought ourselves a circular saw, wood and some paint.

Printed out our plan.

I measured our cuts.

Ryan did the sawing.


Then we nailed it together.


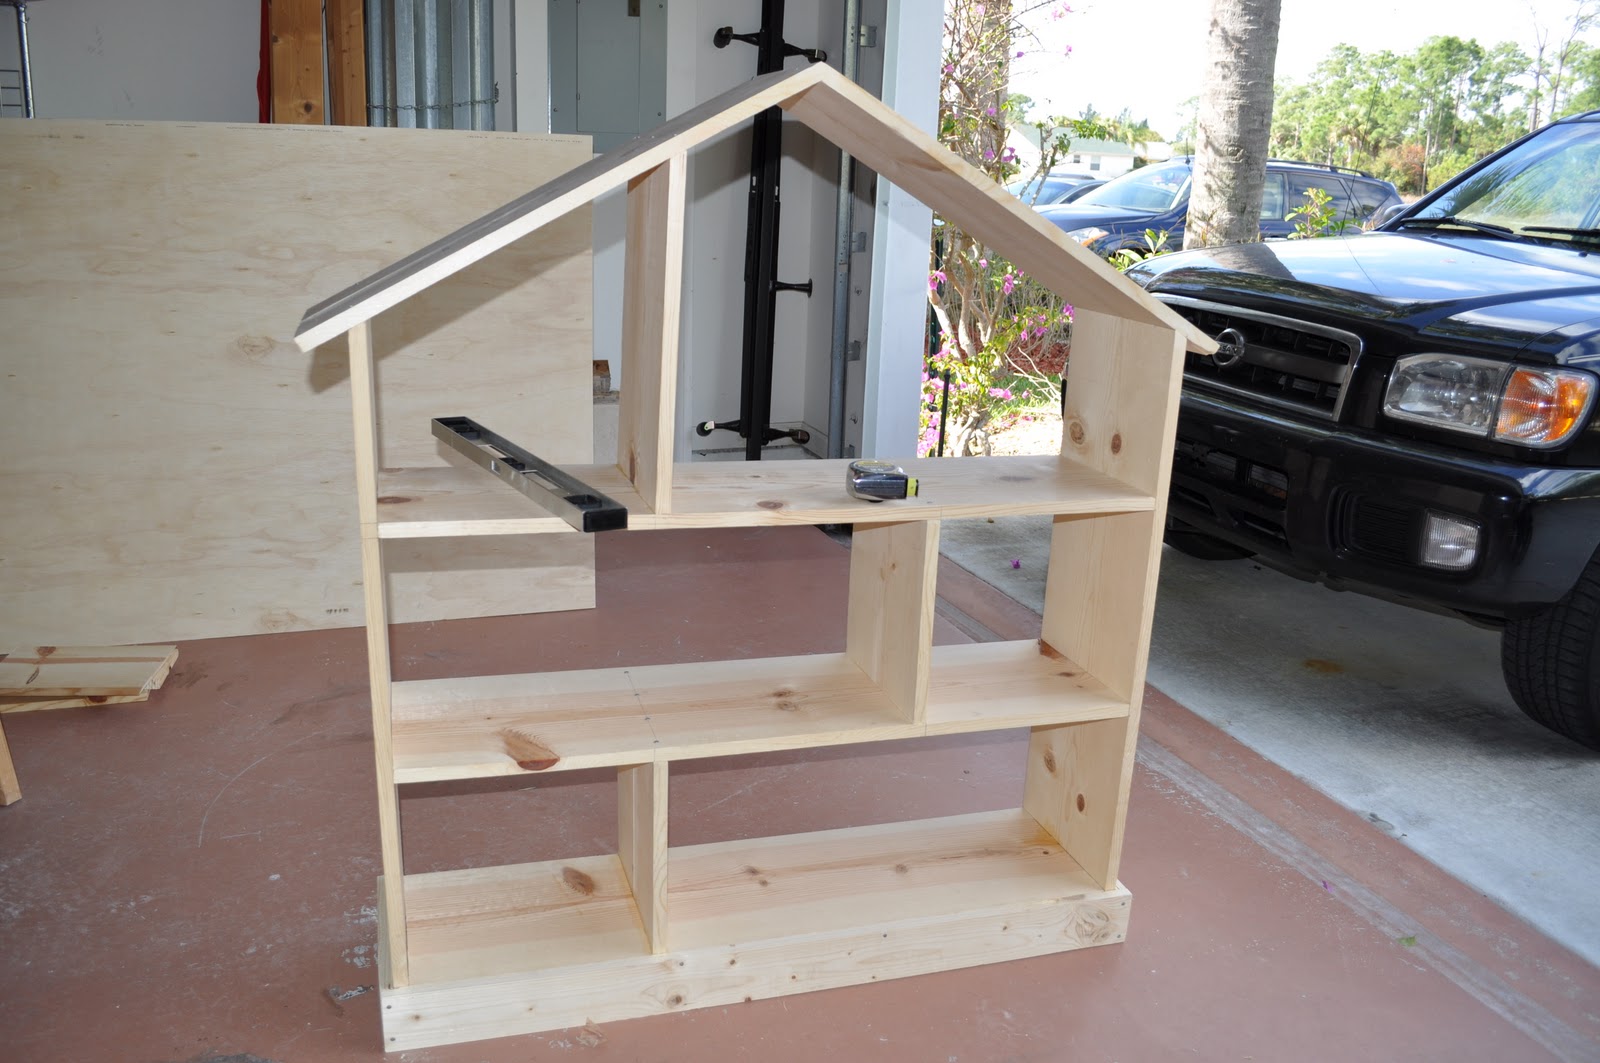

Last: Paint and put in place. Notice the pile of toys on the ground.


Final Product:

Here is what A.G. was doing in the midst of this project.
This:

and some of this:

and this:
She wasn't a fan of the saw.. at all! way too loud. I felt the same way.. So we went in for a snack during those times.

oh yeah and she also did this:


4 - 1x12s @ 8ft (bookcase shelves, roof and sides)
1 - 1x4s @ 6ft (bookcase footer)
1/4 in plywood (back of bookcase)
scrap of wood for practicing
2" nails
1 1/2 " nails
wood glue (we didn't really end up using this.. we only used this on the first couple of joints.)
wood putty
paint
sandpaper
What we cut:
2 - 1x12s @ 38 1/2" (top cut at 30 degrees) SIDES.
1 - 1x12 @ 17 1/2 " (top cut at 30 degrees) TOP SHELVE DIVIDER.
2 - 1x12s @ 27 1/2" (top cut at 30 degrees) ROOF.
3 - 1x12s @42" - SHELVES.
2 - 1x12s @ 12" - BOTTOM SHELVES DIVIDERS.
2 - 1x4s @ 11 1/2" - SIDE FOOTERS.
1 - 1x4 @45" - FRONT FOOTERS.
1/4" plywood - BACK OF BOOKCASE. Wait until the front is put together. Lay the bookcase down on the plywood. Trace and then cut.
Nailing Together:
1. We took two of the shelves (bottom 2) and nailed the shelve dividers (12" dividers) to each of them. Bottom shelve divider 13 1/2" from the left, second shelve 13 1/2" from the right. [2" nails]
2. Next nail the bottom two shelves together. Also nail on the top shelve. [2" nails]
3. Nail the sides on. Make sure the shelves are 12" apart. This should help keep them level. [2" nails]
4. Nail on the footer. [1 1/2" nails]
5. Next nail the top divider (17 1/2" divider) onto the top shelve. It should line up with the bottom shelve, so 13 1/2" from the left edge. [2" nails] [This step could be done when we nailed the other shelve dividers on. I think we just wanted to be able to play with it and the roof to make sure our cuts were accurate enough.]
6. Then nail on the roof. This was the hardest to make work, but play with it and use the wood putty to fill a small crack at the top if needed (like we did). [2" nails]
7. Now is the time to trace and cut the plywood. Then nail it onto the back on the bookcase. [1 1/2" nails]
8. Check and apply wood putty where needed. Sand and prep for paint.
9. Take a step back and proudly admire! :)
Last step: Paint!
LOVE IT! It turned out SO great :)
ReplyDeleteThis is the cutest bookcase, and, cutest little, "big" girl! So fun to see these pics!
ReplyDeleteGreat job guys! I was looking to buy one for our daughter but they are so expensive and made out of cheap *wood*. I was wondering how long it took you to put this together and how much the supplies cost? Thanks so much for the inspiration!
ReplyDelete