Showing posts with label adley. Show all posts

Thursday, April 5, 2012

oh my goodness right now..

both of these are from my phone, sorry about the quality.
just trying to post a funny video from today, adley found a fun activity with that annoying stuff you put in easter baskets.  :) 
and a picture of her after a nap.. she had taken the sheet off her bed. when i tried to start putting it back on, she said "oh no, oh no, baby got sick!" .. does that give you a clue to what has been going on in our lives the past couple weeks? :)

Friday, June 24, 2011

Pumpkin Bars + Father's Day

I know it's not really the season for something pumpkin, but I made these as a fun treat for my hubby on Father's Day anyway. I thought he would like the surprise and he did! A friend of mine made these for our bible study dessert one week way back in the fall so I already knew the recipe was a winner. She got the recipe from Paula Deen. I did not make the icing. I wanted it to be more of a breakfast treat and thought the icing would make it a bit too sweet. It was delicious just like I remembered even without the icing and will definitely be used again come fall time.

Here is the recipe for Paula Deen's Pumpkin Bars:

Ingredients: 
Bars: 
4 eggs
1 2/3 granulated sugar
1 cup vegetable oil
15 ounce can pumpkin
2 cups sifted all purpose flour (I did not sift..)
2 teaspoons baking powder
2 teaspoons ground cinnamon
1 teaspoon salt
1 teaspoon baking soda

Icing: 
8 ounce package cream cheese, softened
1/2 cup butter or margarine, softened
2 cups sifted confectioners' sugar
1 teaspoon vanilla extract

Directions: 
Preheat the oven to 350 degrees.
Using an electric mixer at medium speed, combine the eggs, sugar, oil and pumpkin until light and fluffy.
Stir together the flour, baking powder, cinnamon, salt and baking soda.
Add the dry ingredients to the pumpkin mixture and mix at low speed until thoroughly combined and the batter is smooth.
Spread the batter into a greased 13x10 in baking pan. Bake for 30 minutes.
Let cool completely before frosting.
Cut into bars.
To make the icing:
Combine the cream cheese and butter in a medium bowl with an electric mixer until smooth. Add the sugar and mix at low speed until combined. Stir in the vanilla and mix again.
Spread on cooled pumpkin bars.

I did not cut it into bars. We just cut as we ate them. :) It was yum and moist. I actually forgot to take a picture of it, but I did snap a few pictures of my little one helping me make something sweet for her daddy! :)


And then of the two of them on father's day. :)


Thursday, May 26, 2011

Busted Lip

Before (Earlier this morning) :


After (after her bath, after I could get the ice away from her mouth) :


At first I did not realize she had busted her lip. She fell facing away from me. I thought maybe she hit her head a little, but it did not look like it hurt that bad. I thought, "oh tired girl, maybe a little shook up from the fall." I picked her up, calmed her down and then realized her lip was bleeding. Poor girl. She liked carrying around her ice. When she saw the blood on the wet paper towel, she called it "strawberries." Funny.


Naturally she also did a lot of this.. She is a snuggle girl. (phone picture)

Wednesday, May 25, 2011

funny girl

She found a pacifier... and decided she liked it... She called it "mouth." 
So cute to me! Oh, how I love her! :)  

Wednesday, May 4, 2011

Arizona!

I'm back.. hoping to be at least! I am pregnant and have had some seriously not fun nausea going on since JANUARY! ugh..  Anyway that is my excuse for taking a break from posting. So to this post. - We took a family trip out to Phoenix, AZ to see my in-laws at the beginning of April. It was a really fun trip. Adley is in love with her Grammy and Papa. She had a blast with them and so did we! We do not see them enough! 
The first day we were there, we went to the Phoenix Zoo. It is a really nice zoo. 
Here are a few pics: 


The last day we were there, we went on a scenic drive to Tortilla Flat. Tiny little town with population: 6. 

Notice the cute little dog purse that her Grammy bought her. :) Fun stuff! Fun time! 

Wednesday, January 12, 2011

WAR EAGLE!

Our little auburn fan :) This was game day on Monday! 


Sunday, January 9, 2011

DIY dollhouse bookcase

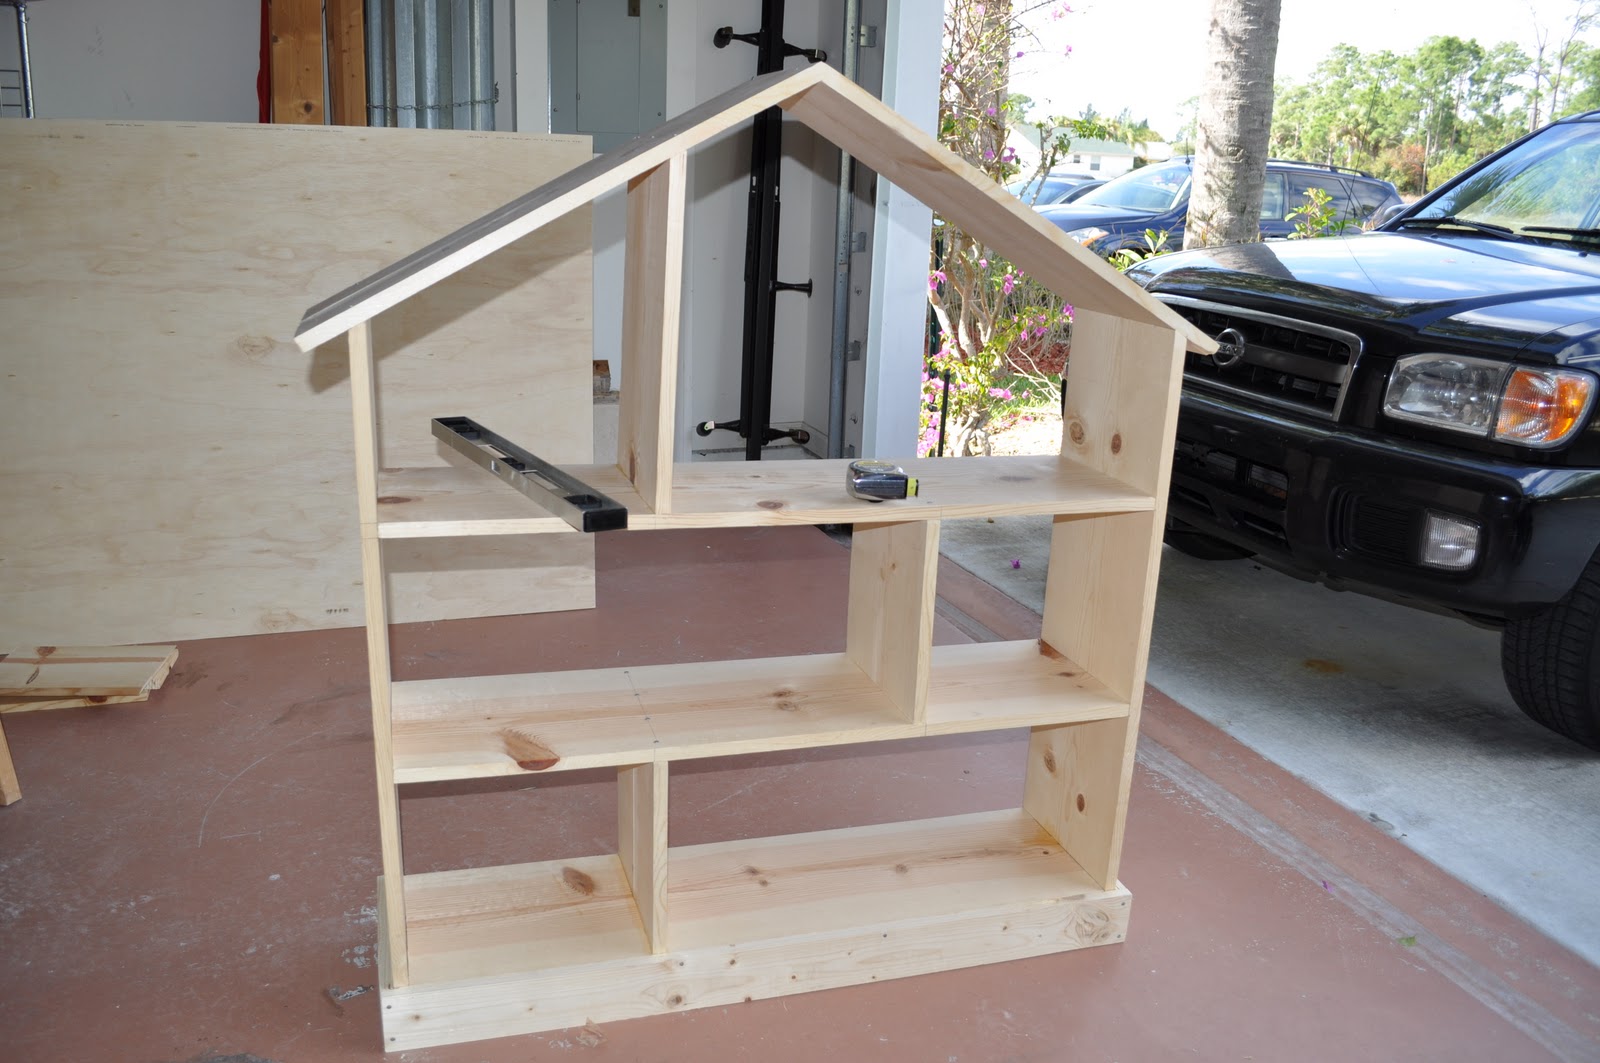
We have been looking for a bookcase for Adley's room for a while. My husband has been dying to get Adley's toys up off the floor. We will see how long that works out. A little over a week ago I came across this dollhouse bookcase plan and we decided we wanted to try our hand out in 'do it yourself' furniture. It took us a couple days to do it. We skipped the windows and doors because we do not have a tool to do that and we were already going to be buying a circular saw. Two things that would have made the project go faster: 1. a babysitter 2. a nailgun. But nonetheless, I feel it really came out great! By the way, this website has gobs of diy furniture project plans and they all look cool. I have about 10 picked out that are next in line for us! :)
Here are some--- actually a bunch of pictures of this project:

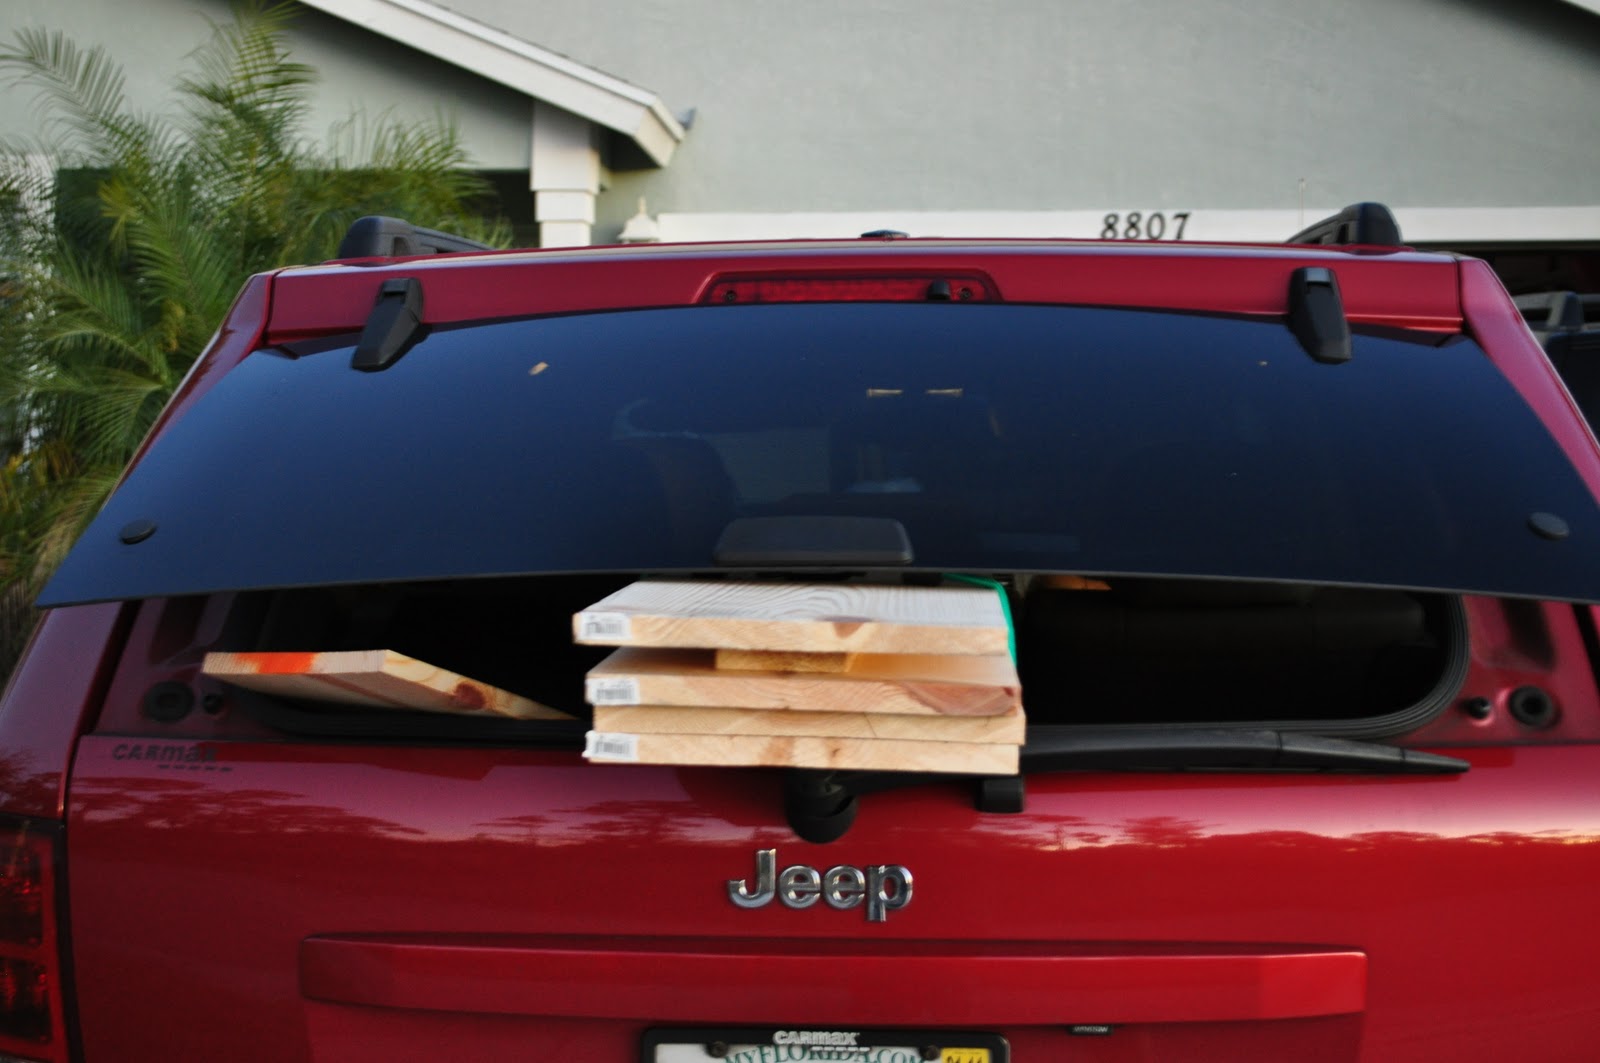
First we bought ourselves a circular saw, wood and some paint. 


Printed out our plan. 


I measured our cuts. 


Ryan did the sawing. 


Then we nailed it together. 


Last: Paint and put in place. Notice the pile of toys on the ground. 


Final Product: 


Here is what A.G. was doing in the midst of this project. 
This:

and some of this: 


and this: 
She wasn't a fan of the saw.. at all! way too loud. I felt the same way.. So we went in for a snack during those times. 


oh yeah and she also did this: 


What we bought: 
4 - 1x12s @ 8ft (bookcase shelves, roof and sides)
1 - 1x4s @ 6ft (bookcase footer)
1/4 in plywood (back of bookcase)
scrap of wood for practicing
2" nails
1 1/2 " nails
wood glue (we didn't really end up using this.. we only used this on the first couple of joints.)
wood putty
paint
sandpaper


What we cut: 
2 - 1x12s @ 38 1/2" (top cut at 30 degrees) SIDES. 
1 - 1x12 @ 17 1/2 " (top cut at 30 degrees) TOP SHELVE DIVIDER.
2 - 1x12s @ 27 1/2" (top cut at 30 degrees) ROOF.
3 - 1x12s @42" - SHELVES.
2 - 1x12s @ 12" - BOTTOM SHELVES DIVIDERS.
2 - 1x4s @ 11 1/2" - SIDE FOOTERS.
1 - 1x4 @45" - FRONT FOOTERS.
1/4" plywood - BACK OF BOOKCASE. Wait until the front is put together. Lay the bookcase down on the plywood. Trace and then cut. 


Nailing Together:
1. We took two of the shelves (bottom 2) and nailed the shelve dividers (12" dividers) to each of them. Bottom shelve divider 13 1/2" from the left, second shelve 13 1/2" from the right. [2" nails]
2. Next nail the bottom two shelves together. Also nail on the top shelve. [2" nails]
3. Nail the sides on. Make sure the shelves are 12" apart. This should help keep them level. [2" nails]
4. Nail on the footer. [1 1/2" nails]
5. Next nail the top divider (17 1/2" divider) onto the top shelve. It should line up with the bottom shelve, so 13 1/2" from the left edge. [2" nails] [This step could be done when we nailed the other shelve dividers on. I think we just wanted to be able to play with it and the roof to make sure our cuts were accurate enough.] 
6. Then nail on the roof. This was the hardest to make work, but play with it and use the wood putty to fill a small crack at the top if needed (like we did). [2" nails]
7. Now is the time to trace and cut the plywood. Then nail it onto the back on the bookcase. [1 1/2" nails]
8. Check and apply wood putty where needed. Sand and prep for paint. 
9. Take a step back and proudly admire! :) 


Last step: Paint! 

Friday, December 31, 2010

Christmas Morning plus Monkey Bread

Just some pictures from our Christmas morning. :)


Adley had fun unwrapping her presents and she did it pretty well. These next few pictures of her unwrapping a box make me laugh. 


Our morning also included this : 


We had already started picking at it. yum yum! 

MONKEY BREAD! warm gooey goodness! 
I got this recipe from my momma who got it from a friend of hers. It is wonderful! I only made a half recipe for our Christmas morning since it was just us, and that would have been fine for 4 people. Do not do the math, you will be depressed at how many biscuits you can eat when they taste like this! 
Monkey Bread
Ingredients
4 cans (10 count) biscuits
1 cup cinnamon sugar
1 1/2 sticks of butter
1 1/2 cups of brown sugar
1 tablespoon cinnamon

Directions:
Grease a bundt pan. Preheat oven to 350 degrees. Make some cinnamon sugar to your liking. Cut biscuits into fourths, and roll in cinnamon sugar. Place 1/2 biscuits into pan. Cook butter, brown sugar, and cinnamon in sauce pan. Pour 1/2 butter mixture over 1/2 biscuits in pan. Add remaining biscuits, pour remaining butter mixture over biscuits in pan. Bake 35-40 minutes. 

**bundt pan is not required, any pan will do. I sometimes even use a casserole dish or the bundt and a casserole dish, it cooks a little more even that way. With a bundt pan, you might get some gooey biscuits in the middle.. especially if you use 4 cans. In case you are wondering.. 8 count biscuits do not work as well for this. They are thicker biscuits and the outside will look done but the inside will be gooey and some won't be cooked. 
**Also if you only do a 1/2 recipe, you can put all the biscuits in the pan and pour the butter mixture over top. It makes it's way down through the biscuits no problem. 
This makes a pretty yummy New Years' Day breakfast too!